About Me

My photo
Sublimity, OR, United States
****WELCOME FRIENDS****
I am artist of texture and color. I enjoy working with textiles, mixed media and the graphic arts. I am an avid cottage gardener with a love for pass along plants and big fluffy pink peonies and pink roses. Many of my tangible creations reflect my love of the garden and all its wonderful colors. I have been selling my creations online since 2002 beginning as a hobby. After 10 years I quit the day job to pursue my art as a full time passion.
Showing posts with label re-purpose. Show all posts

31 March 2015

Chairs for Charity 2015

I finally finished my chair restoration for Chairs for Charity auction 2015.

Each year I donate an up-cycled theme decorated chair to a great cause. Chairs for Charity to bring awareness to L.A.M. My friend Carrie suffers from this lung disease and is a champion for getting the word out and raising funds and awareness of this little know affliction. You can read more about it here.


Below is the primed chair--it was a walnut wood color with this rose pink seat


 After priming, I used a couple of different stencils to get my flourishes on the back panel. I then used a chalk finish paint called Americana Decor in the "Yesteryear" color.  I will put my 2 cents in about chalk paint. I know there are many die hard Annie Sloan paint fans out there. I have used her paint, I even took a sponsored ASP class, and I love her paint. But at $40 a quart, the alternatives on the market are just as good. And there are a lot of recipes on the internet to make your own and several are not the right proportions and you can get some bad results. I have found the best "make your own" recipe is on the Lowe's website. You can buy their little sample pots (they will mix you any color you want). But for this project I was able to get this paint on sale at Craft Warehouse for $6.99 and I really liked the color.

Next was the waxing. I started with an antique color wax. I hated it! With the brown cast on the grey it looked dirty. So I mixed a clear wax with some black acrylic paint and waxed again and got the results I was looking for.
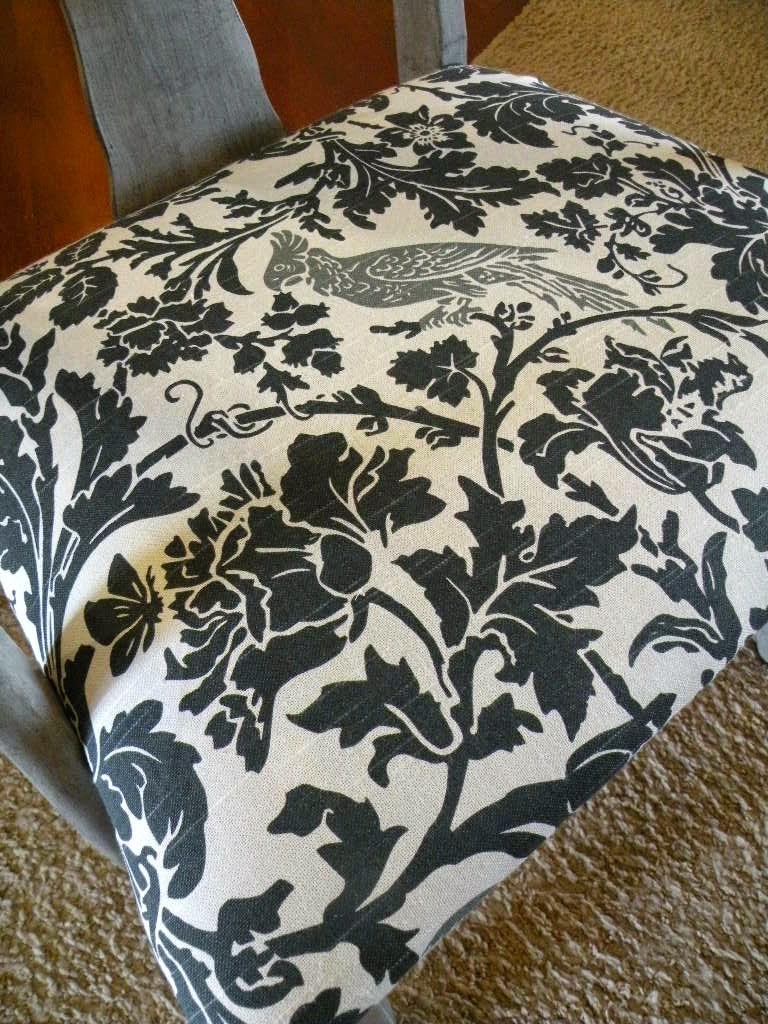

 finding the perfect seat fabric was not easy!
Sometimes it pays to walk back to the clearance area of the fabric store! I found this amazing remnant for $9 a yard. The bird was the perfect shade of grey.
 

So now the hunt begins again for next years chair!


Feature Fridays
No Minimalist Here


28 July 2014

The challenging flower bed

 For the last 10 summers we have lived in this house, I have had this little narrow flower bed on the back patio that has always been a challenge. Shady most of the day, but the late hot afternoon sun beats down on it. Nothing would grow well planted on the ground, so I started using it as my little garden decorating area and dress it up a little differently each each year....the pic below is the early spring when I set the "bones" for this little bed. I have changed things up a bit since then, always adding new finds!

 Here it is now a bit more filled out. 


 since nothing is growing "up" the trellis, I opted to have a few treasures falling "down"
 My favorite wood ladder I painted last summer, just positioned a little differently this season
 a new find this summer, a chippy cement bird. When my husband set him on the ground he said "the eagle has landed" LOL, maybe more fitting would be "the seagull has landed". Also note the ladybugs. That was a spring painting project with my little granddaughters. They had fun placing them in the garden as we painted several.
 More fun finds sprinkled. A broken china plate I glued back together still has life in the garden, a wheel from a broken wheel barrow planter, a rusty shovel and colander too.

 the trellis is probably my favorite piece. I have used this in many different places in the garden over the years.

this old wire chair is a perfect plant stand.
 Hope you enjoyed this little tour of the little challenge garden!

31 December 2013

2013 re-purpose upcyle projects in review

As 2013 comes to a close and I have neglected my blog during the busy holiday season, I am playing a bit of catch up on some of the projects I worked on this last year that I never posted about.  I love the thrill of the hunt finding treasures that can have a new life. Some of these I sold on my website, but most I kept for myself!

Starting with the pic below, this is a big haul that I made at a farm sale last August. Most of these pieces came out of an old barn and were literally rusty, dusty, dirty but truly vintage treasures! That little yellow watering can my granddaughters loved to use it as it was just their size!


Starting with the spools, I cleaned them up, painted, added some vintage sheet music, some cup hooks, lace and a soft pink rose~viola, a jewelry tower below.

Vintage spool Necklace Jewelry tower Shabby French Cottage

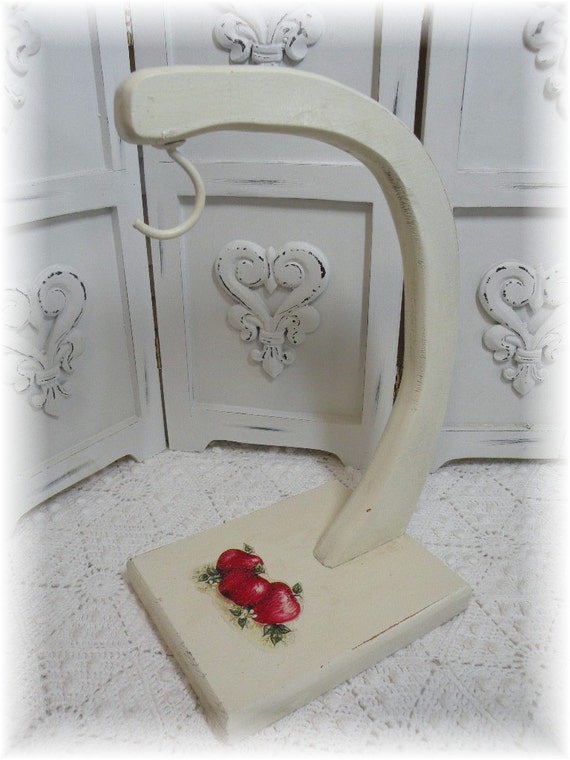
The banana rack below was a simple project with painting, water slide decal
and a bit of distressing for  great retro cottage charm


Retro French Farmhouse cottage style wood banana rack Apples, distressed chippy shabby and chic ECS

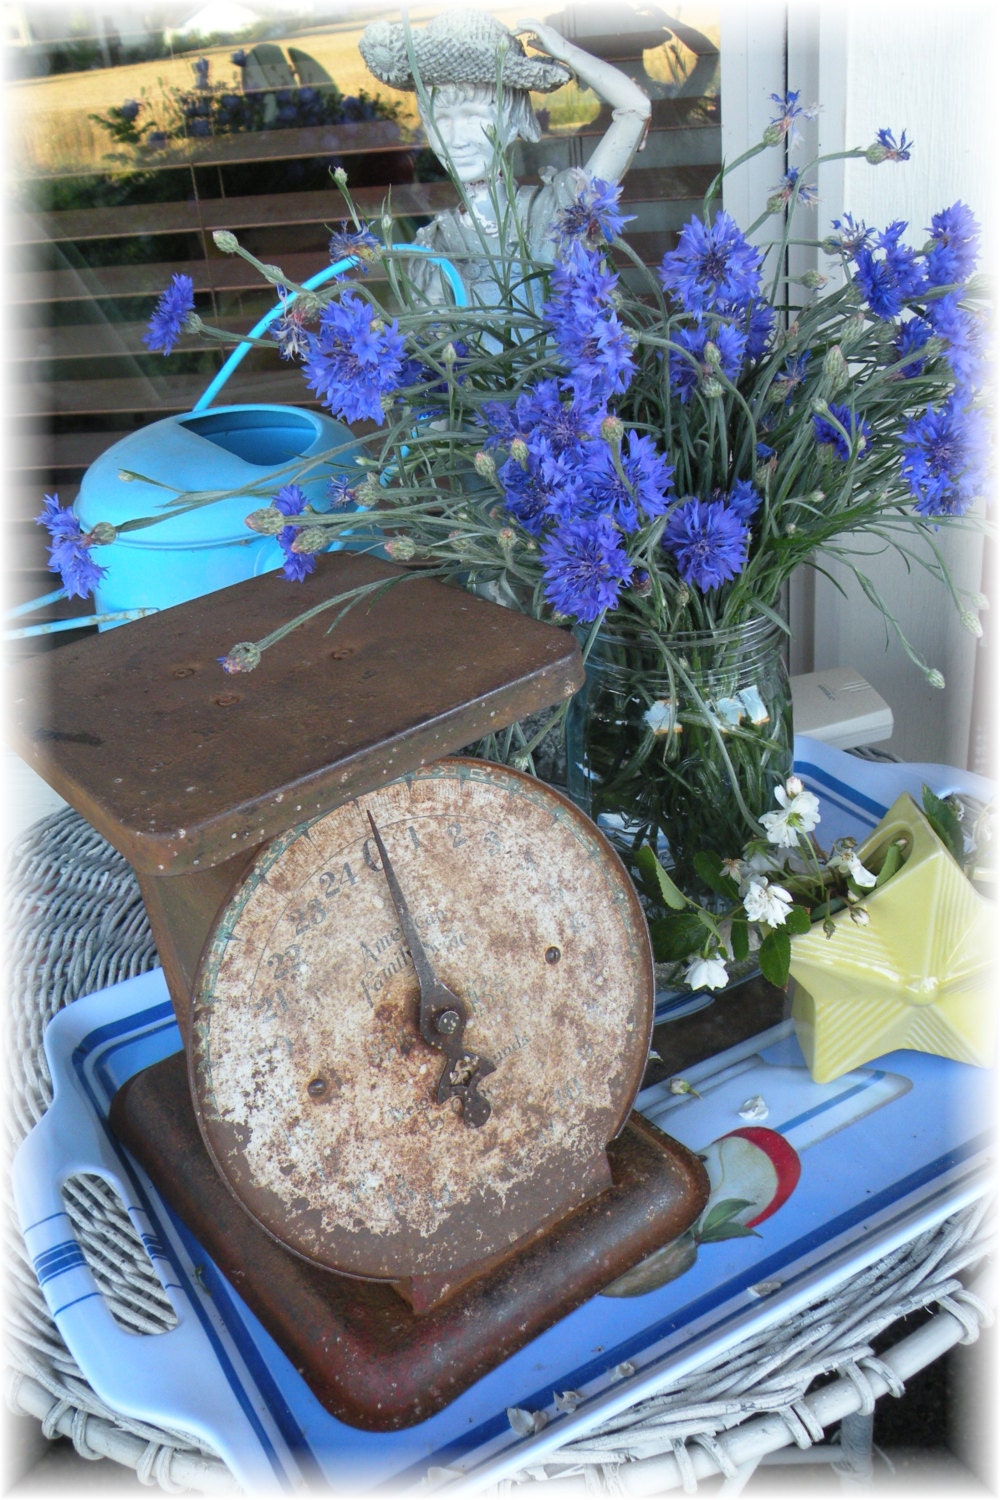
You may have seen these other pieces incorporated into my fall and summer porch decor, the rusty scale (I love this, it fits so well as a decorating element))


The plant rack I painted yellow

worked great for both summer and fall decor


I think my best and simplest find was the wood carrier as I did nothing to it except fill it with seasonal charm! Below are the fall and Christmas displays I used it for.


at Christmas another purpose


Then the vases...those were for the glass bird feeders. these were so fun and they sold well both locally and off my website.I collect the pieces for them all year. Tutorial coming in the spring on these too.

 
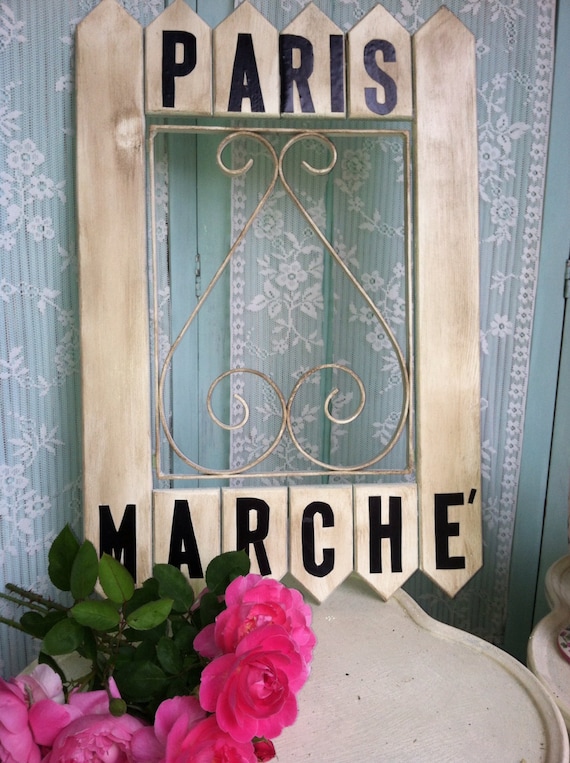
A picket wood piece I picked up at yet another farm sale


A simple fix of "flipping" it upside down, painting, lettering and distressing gave it a nice "frenchy" appeal 

Paris Marche' French Market wood picket sign Shabby chippy chic distressed garden decor

 I never did get to the ladder in the top pic, it is intended to use as a garden junk element. So when the weather gets nice, I will put my thinking cap on. I also have this chair back I am excited to work on.
I would love to hear your suggestions on this piece!

Whew! Now it starts all over again...the thrill of the hunt, and the vision of something wonderful for 2014!

Happy New Year to all my Junkin friends!


22 July 2013

Summer on the front porch

Over at Etsy Cottage Style, I joined in on a creativity challenge that was to create an "outdoor space" be it for dining or relaxing. Since we spend most of our outdoor time on our backyard patio were I have always focused my decorating, I decided to focus on our large front porch. It does have seating, and we have a beautiful view of farmland and mountains, but I have really neglected it the last few years. I needed this challenge to make it a lovely place for evening relaxing with a glass of wine.

  Many of you follow my blog know I have been obsessed this summer with apple green. But I do love the combo of yellow and blue too. I already had a lot of yellow going on here so decided adding blue would be inviting in my dark red porch.


As you know, I am a believer in "use what you have", so there is nothing here I went out and bought. The yellow chippy plant stand serves a coffee table. It was a cheap estate sale find that I spray painted and distressed. That cover on the bench is just and old round table cloth I threw over the bottom cushions.


Love this rusty kitchen scale I found at an estate sale this weekend! I actually sanded some of the rust off to smooth it out. The yellow star vase was part of the Bauer pottery set that belonged to my grandmother. An old mason jar full of cornflowers is the perfect country blue.

  A jelly jar of yellow coreopsis is just the sweetest!


  A bit wider view of my updated seating area. I drug the hubs out here to see what I had done, he actually was impressed, his comment was we should sit out here this evening since it is so nice. Now I am impressed because most of the time he really thinks all my fussing around is a waste of time, but he knows I enjoy it LOL.


I planted huge baskets this summer so they would look good thru the end of September. These are only half full, image how big they will be in a month!
 Sharing what we see from our porch, the pics do not do it justice. Below, we had a new full moon last night. It made the porch makeover extra special!


Joining in these parties this week (lots of them!)
Masterpiece Monday at Boogieboard Cottage
Mod Mix Monday @ Mod Vintage Life
Be Inspired @ Elizabeth & Co.
Cottage Style @ Lavender Garden Cottage
Knick of Time Tuesday @ Knick of Time Interiors
Nifty Thrifty Tuesday @ Coastal Charm
Outdoor Wednesday @ A Southern Daydreamer
Garden Party @ Fishtail Cottage  (May 1st – Oct 1st)
Time Travel Thursday @ Brambleberry Cottage
Treasure Hunt Thursday @ From My Front Porch to Yours
Anything Blue @ The Dedicated House
Fabulously Creative @ Jennifer Rizzo
Farm Girl Friday @ Fresh Eggs Daily
Friday Redouxs @ Redoux
Inspiration Friday @ The Picket Fence
Shabbilicious Friday @ Shabby Art Boutique
Show and Tell Friday @ My Romantic Home
Vintage Inspiration Friday @ Common Ground 
Anything Blue Friday @The Dedicated house


24 June 2013

An amazing re-purpose


A few posts back, I asked if anyone knew what this was. I am still guessing, but I think it was a silk flower planter of some type. When I picked this up a garage sale a couple weeks ago, I envisioned what it could become. I love when an idea works!

I cleaned up as it was pretty dusty. Spray painted with Painters Touch Heirloom White satin. Then used a dry brush method to add some chalk paint in Provence blue. then waxed with a dark colored wax and buffed.


Next, since this was so deep, I needed to add a false bottom (I bet you are still wondering what I am planning). I simply cut a 2"x6" circle of cardboard, wrapped it around the post and taped it at the bottom. Then I cut 2 half circles, covered and glued some scrapbooking paper and placed inside. Nothing fancy.


I debated on how to divide the inside. I came up with these plastic storage containers. They are light, easy to clean, and most of all they fit the best.


Okay, so now the reveal....this is going to serve as an outdoor serving caddy! We eat outdoors in the summer a lot.


Instead of dragging out a pile of flatware and napkins, I can simply bring the whole caddy to the table and let everyone help themselves, or I can easily set each place setting in a jiffy. Note on the top loops I have added seasoning bottles, which will change based on what is being served

Below, I have a corner table on the patio that I can set this having it out of the way while we are eating. When cleaning up for the day, simply bringing in the caddy never got so easy, And I am all about making it easy on myself.

Total cost of this project was $4.00 That's right only FOUR DOLLARS for the caddy itself.  That is because everything else I had on hand including the spray paint. I am a firm believer in using what you have to make it work.


This week I am joining in on the following parties

Make it Pretty Monday @ The Dedicated House
Cottage Style Entertaining Party @ EtsyCottageStyle  
Mod Mix Monday @ Mod Vintage Life
 Nifty Thrifty Tuesday @ Coastal Charm
Vintage Style Inspiration@ Knick of Time

Where we reside

Where we reside

The Oregon Coastline

The Oregon Coastline